HowToUse/Jenkins/1.594
- List of Backups
- View the diff.
- View the diff current.
- View the source.
- Go to HowToUse/Jenkins/1.594.
_ Prerequisite
- Java Runtime Edition
- Cent OS (You can refer HowToUse/CentOS/6.5)
- Subversion (You can refer HowToUse/Subversion/1.6)
- Maven (You can refer HowToUse/Maven/3.2)
_ Install&Setup
- Step.1
- Import public key.
# wget -O /etc/yum.repos.d/jenkins.repo http://pkg.jenkins-ci.org/redhat/jenkins.repo
# rpm --import http://pkg.jenkins-ci.org/redhat/jenkins-ci.org.key
- Step.2
- Install Jenkins
# yum install jenkins
_ Launch Jenkins
- Step.1
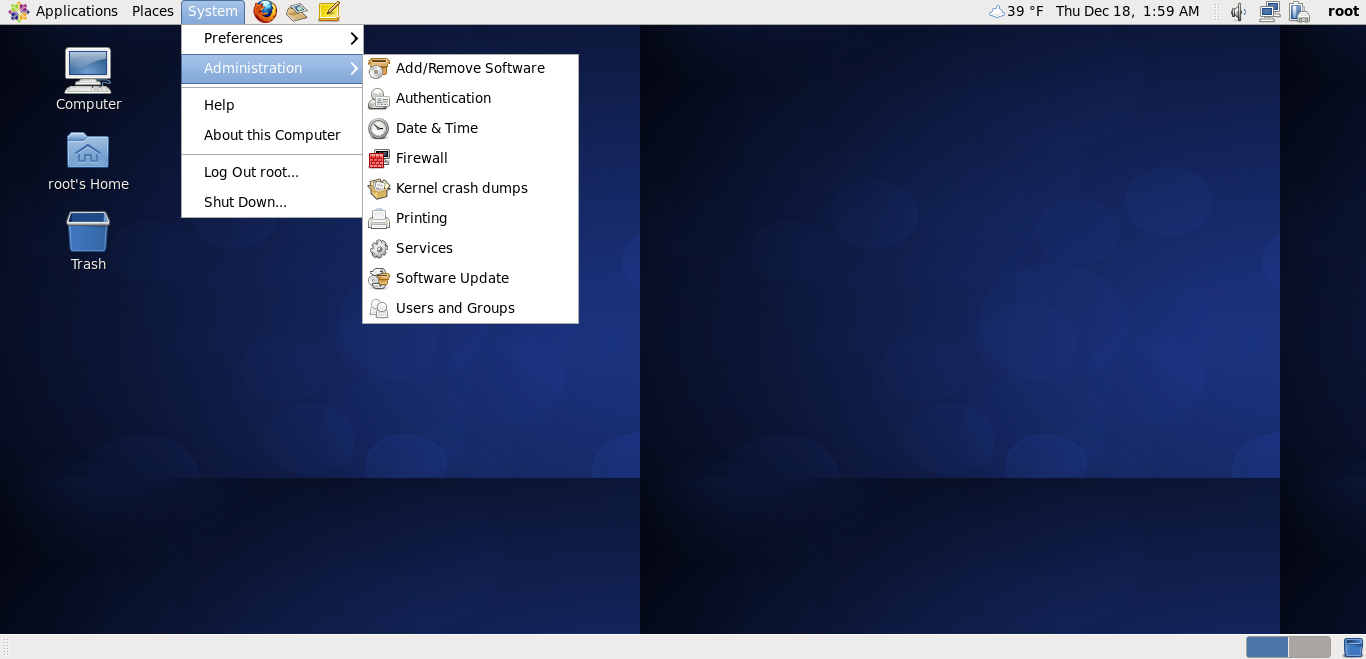
- Login with root.
- Step.2
- Select System -> Administration -> Firewall
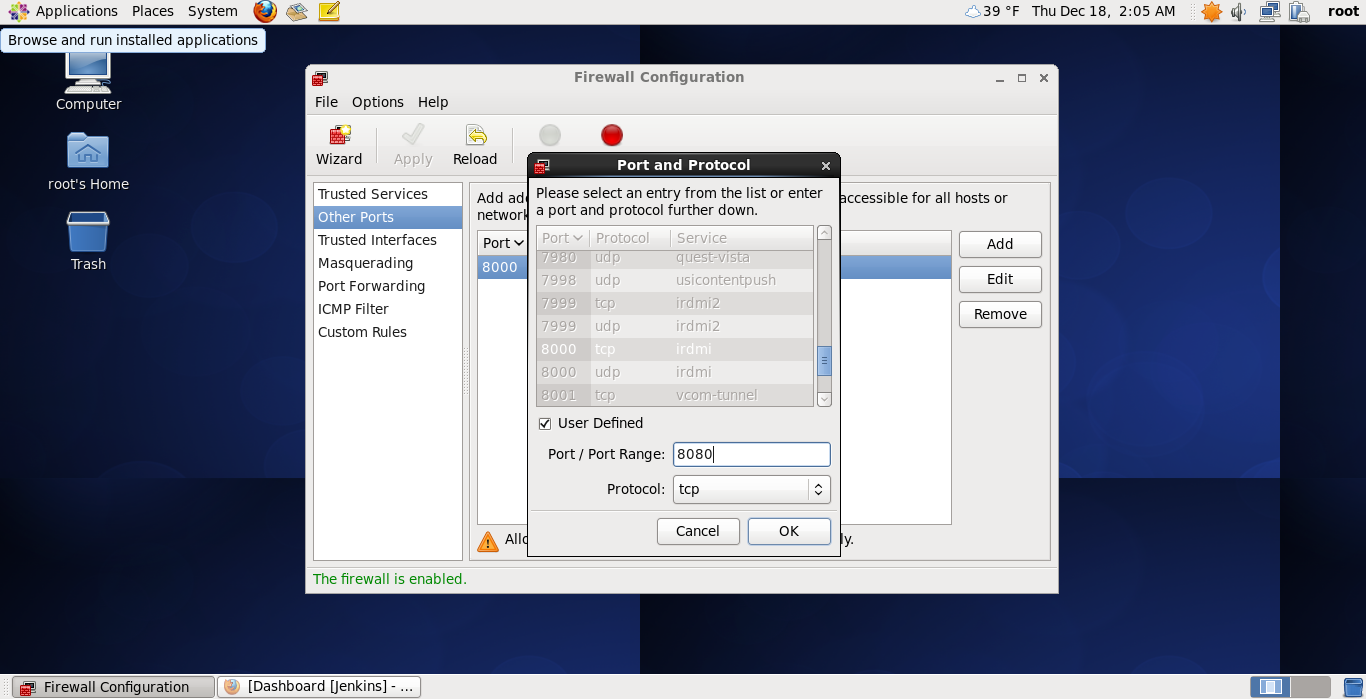
- Step.3
- Select "Other Ports" and click "Add" button and set 8000 port.
- Step.4
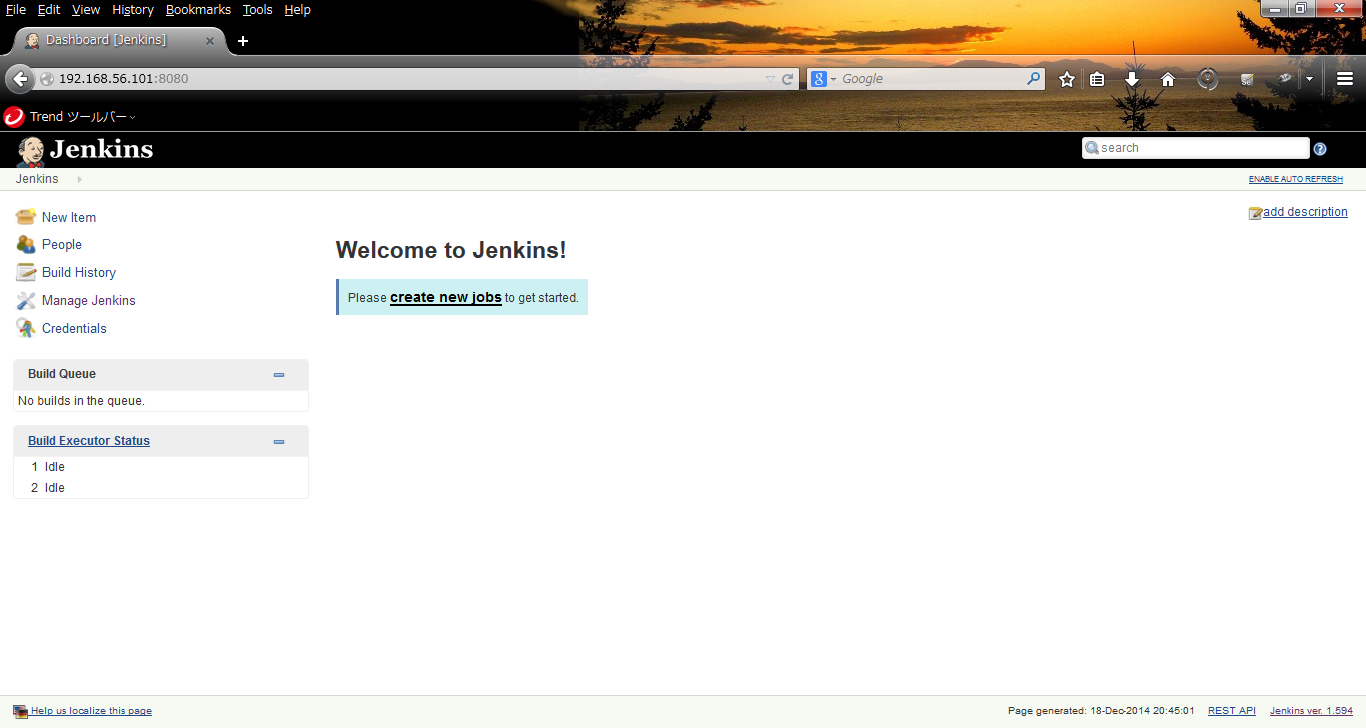
- Click "Apply" button on the "Firewall Configuration" window and access http://<host name>:8080/.
_ HowToUse
_ Mail Server Configuration
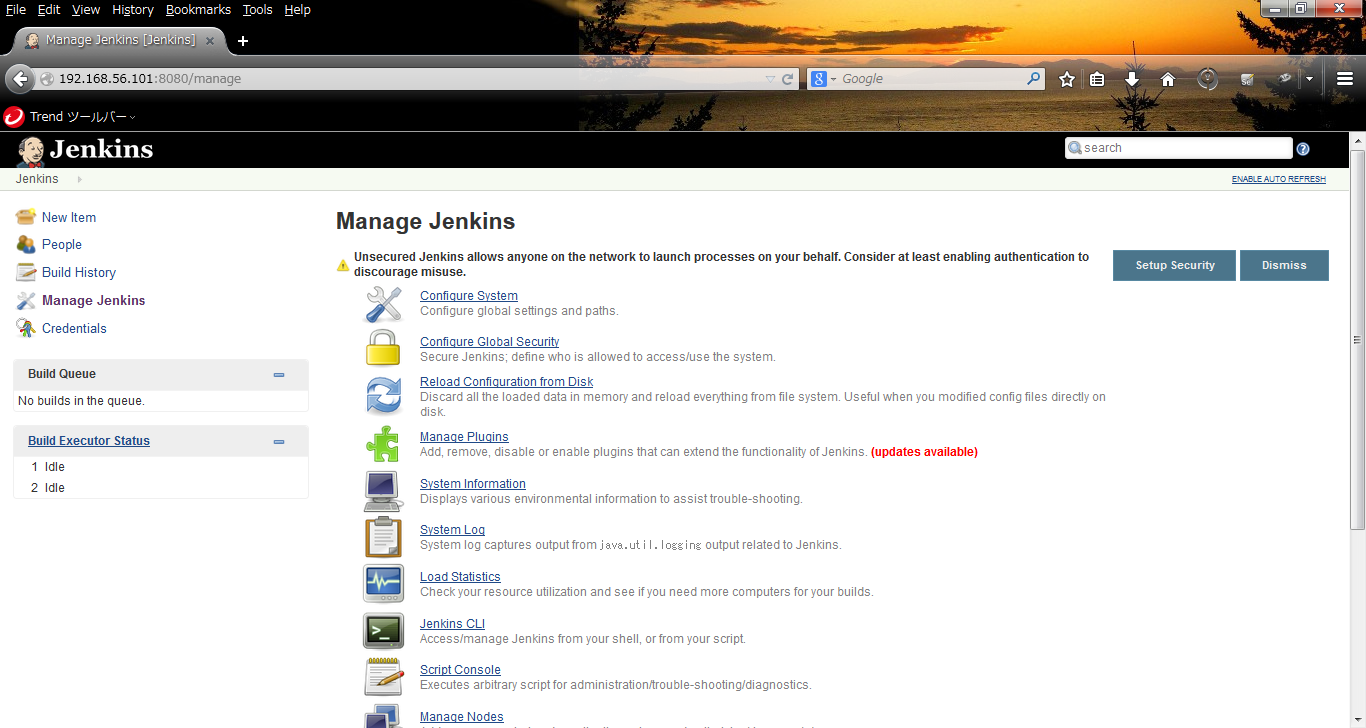
- Step.1
- Click "Manage Jenkins".
- Step.2
- Click "Configure System".
- Step.3
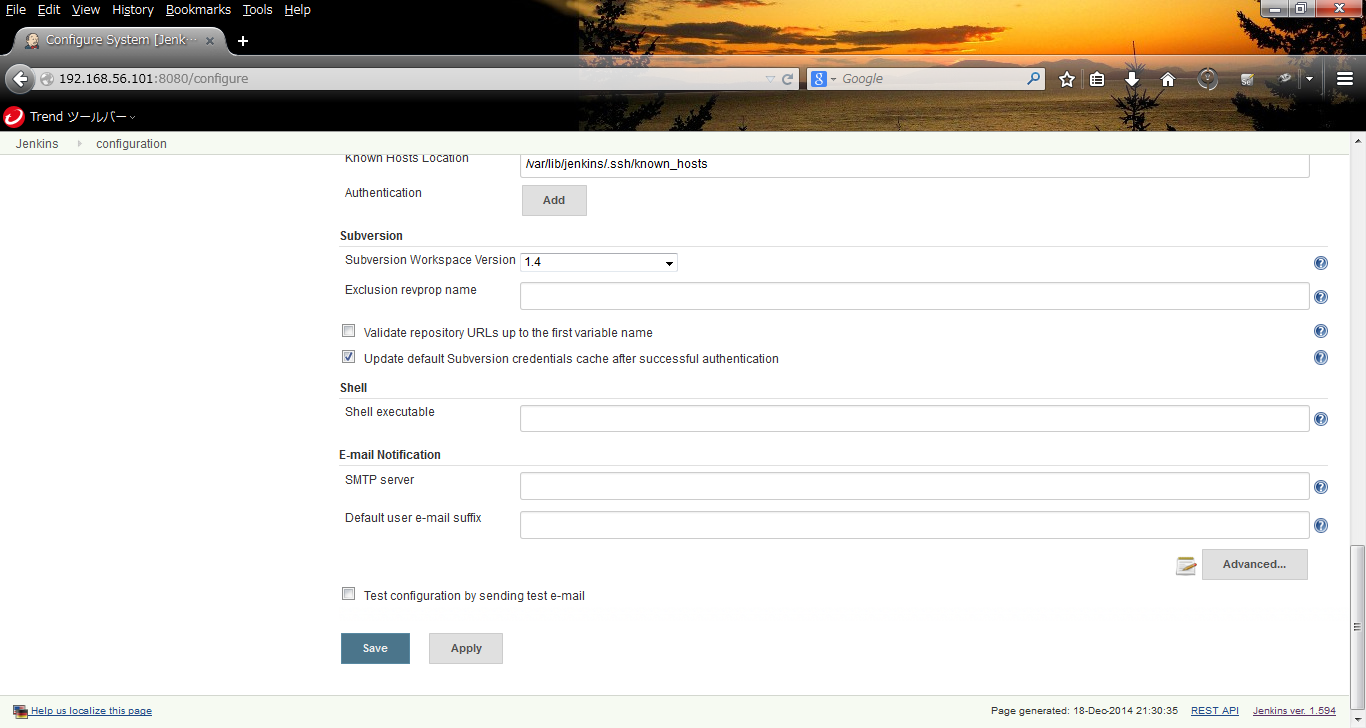
- Setup mail notification configuration.
| Item | Description | Example |
| SMTP server | SMTP server | "smtp.gmail.com" |
| Default user e-mail suffix | If you specify this as "@gmail.com", user e-mail address will be automatically obtained as <user name><suffix> | @gmail.com (for gmail) |
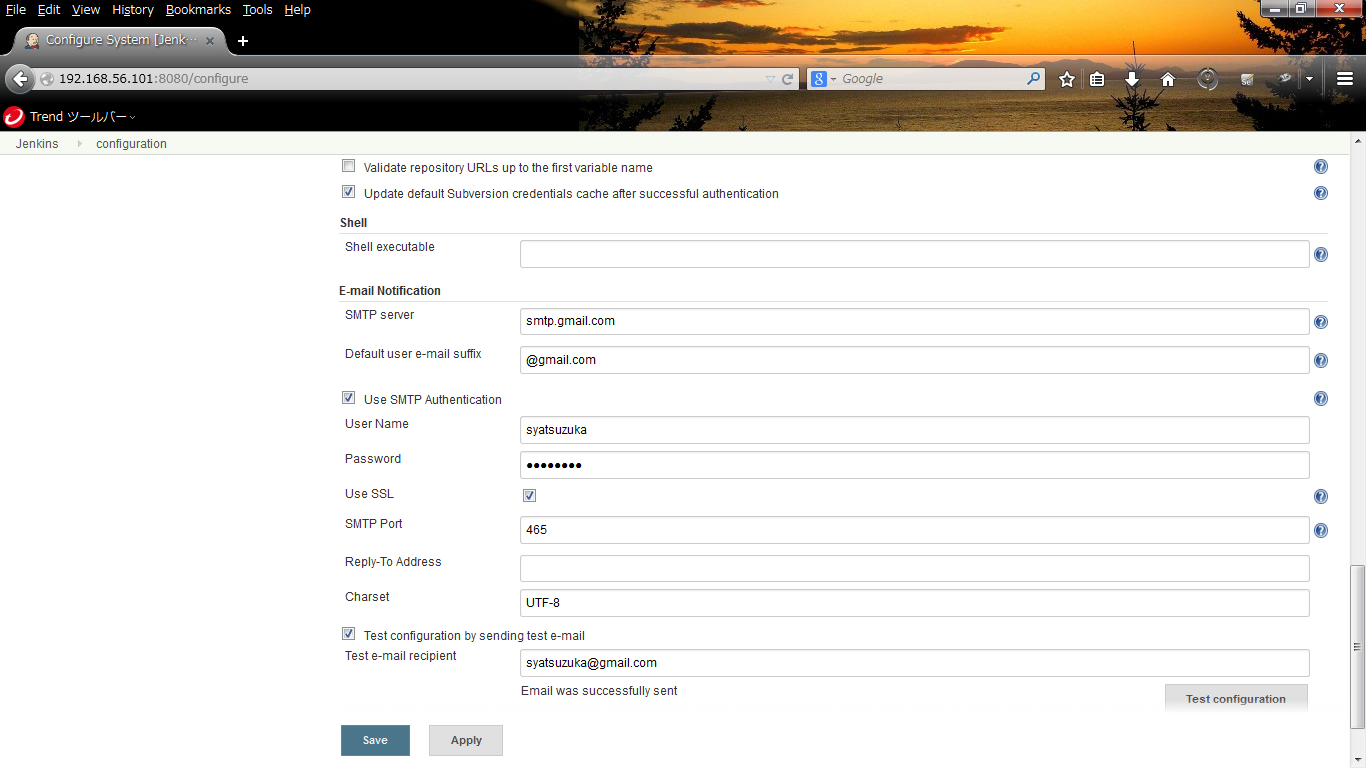
- Step.4
- Click "Advances..." button. Setup the configuration.
| Item | Description | Example |
| Use SMTP Authentication | If you expect SMTP authorization, check this | TRUE (for gmail) |
| User Name | e-mail user name for SMTP authentification | "syatsuzuka" |
| Password | password for SMTP Authentification | "xxxx" |
| SSL | if SMTP server require SSL, check this | TRUE (for gmail) |
| SMTP Port | Port used in SMTP server | "465" (for gmail) |
| Charset | Character used in e-mail | "UTF-8" |
_ Install JDK for Jenkins
- Step.1
- Click "Manage Jenkins" link.
- Step.2
- Click "Configure System" link.
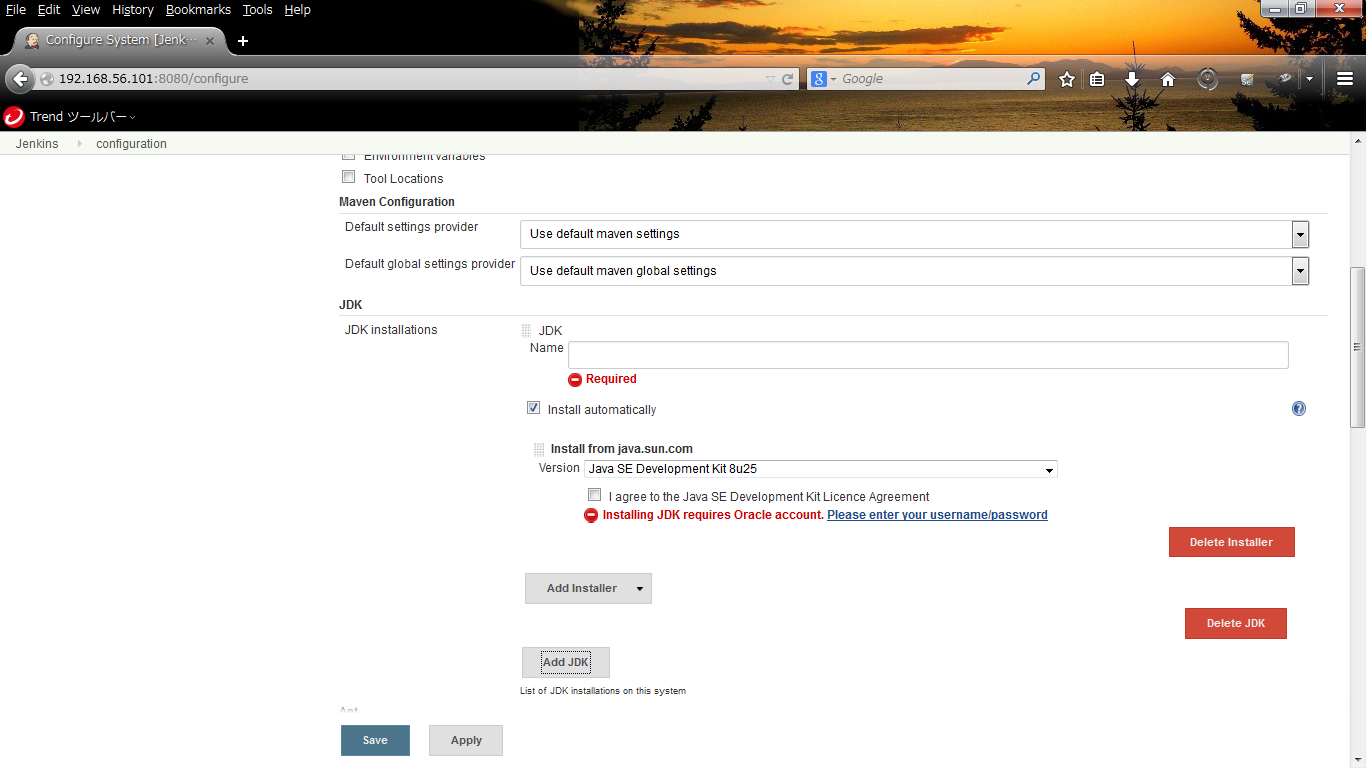
- Step.3
- Click "Add JDK" button.
- Step.4
| Item | Description | Example |
| Name | JDK name | "jdk8u25" |
| Install automatically | If you want to install JDK automatically, keep this checked | TRUE (default) |
| Version | JDK Version | "Java SE Development Kit License Agreement |
| I agree to the Java SE Development Kit License Agreement | TRUE |
- Step.5
- Click "Please enter your username/password" link.
- Step.6
- Enter Oracle account and click "OK" button.
_ Install Maven for Jenkins
- Step.1
- Click "Add Maven" button and set Name.
- Step.2
- Click "Save" button.
_ Create Items
- Step.1
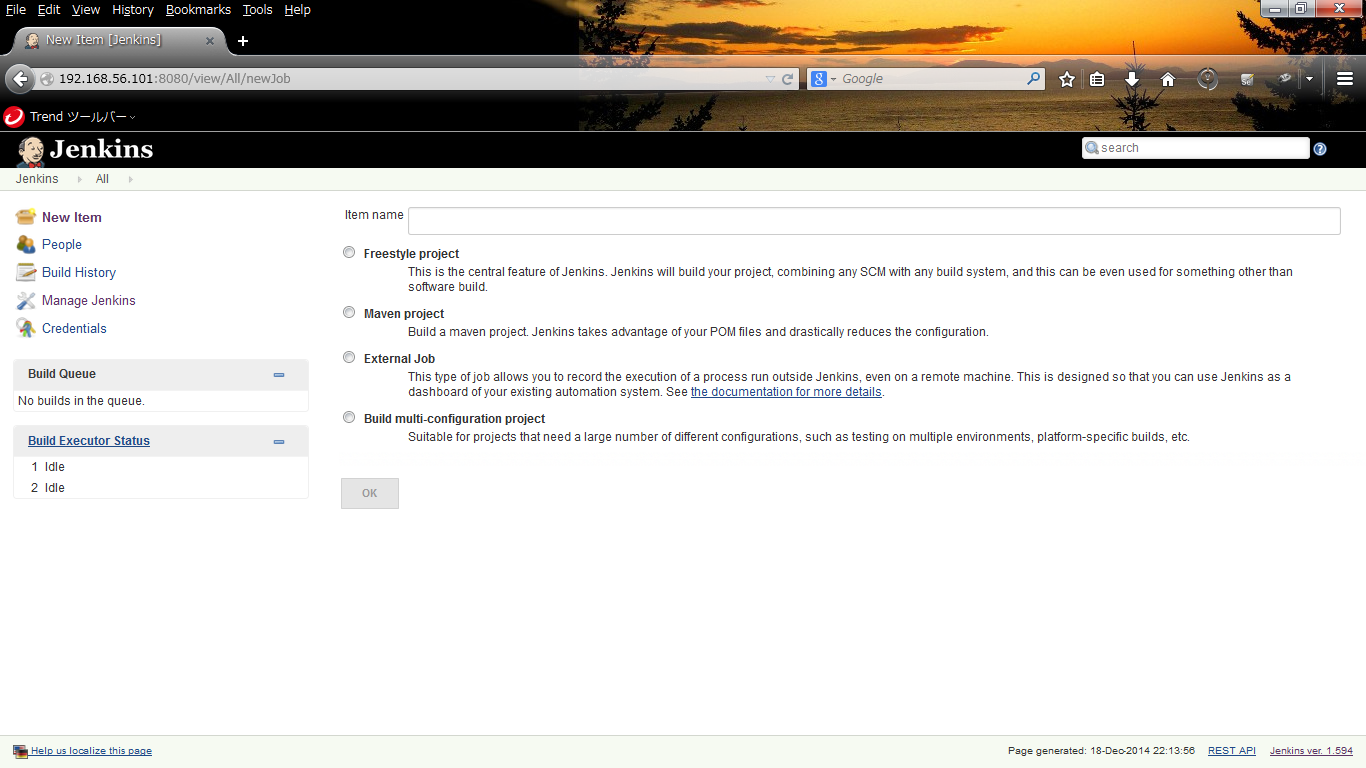
- Click "New Item" link.
- Step.2
- Set "Item name", check "Freestyle project" and click "OK" button.
| Item | Description | Example |
| Item name | Item name | "TestJOB" |
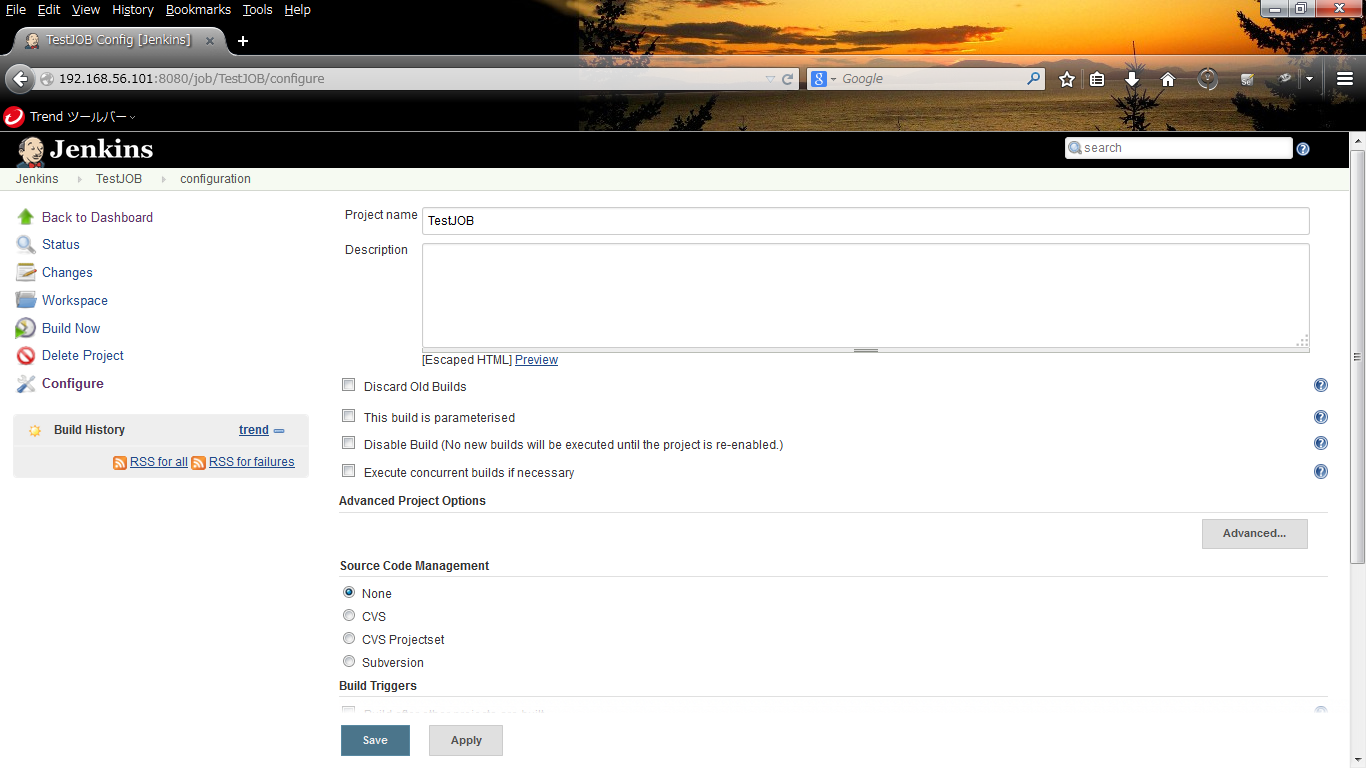
Now, you have new directory named "TestJOB" in JENKINS_HOME, namely, /var/lib/jenkins. Resources which are necessary for build will be stored in workspace under
- Step.3
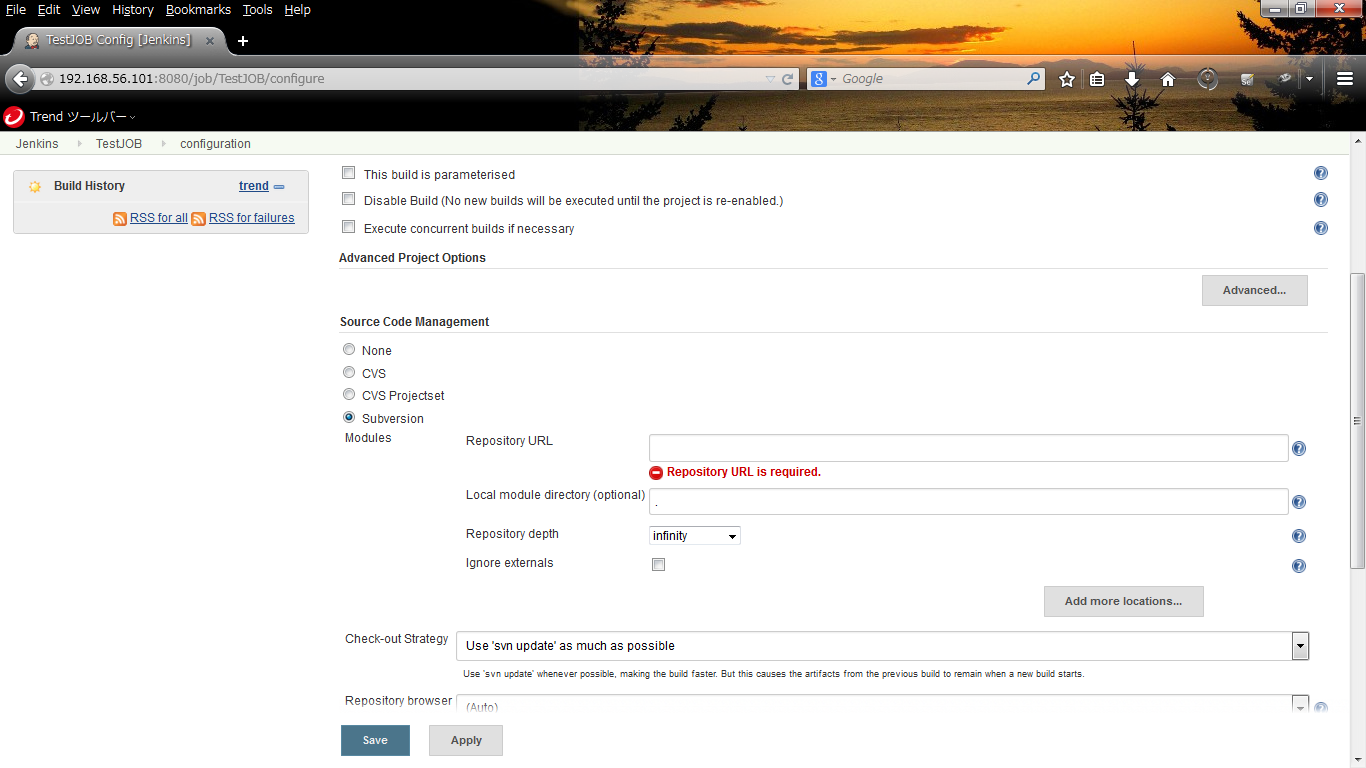
- Click Subversion for "Source Code Management" and set "Repository URL".
| Item | Description | Example |
| Repository URL | Repository URL | "http://localhost/svn" |
- Step.4
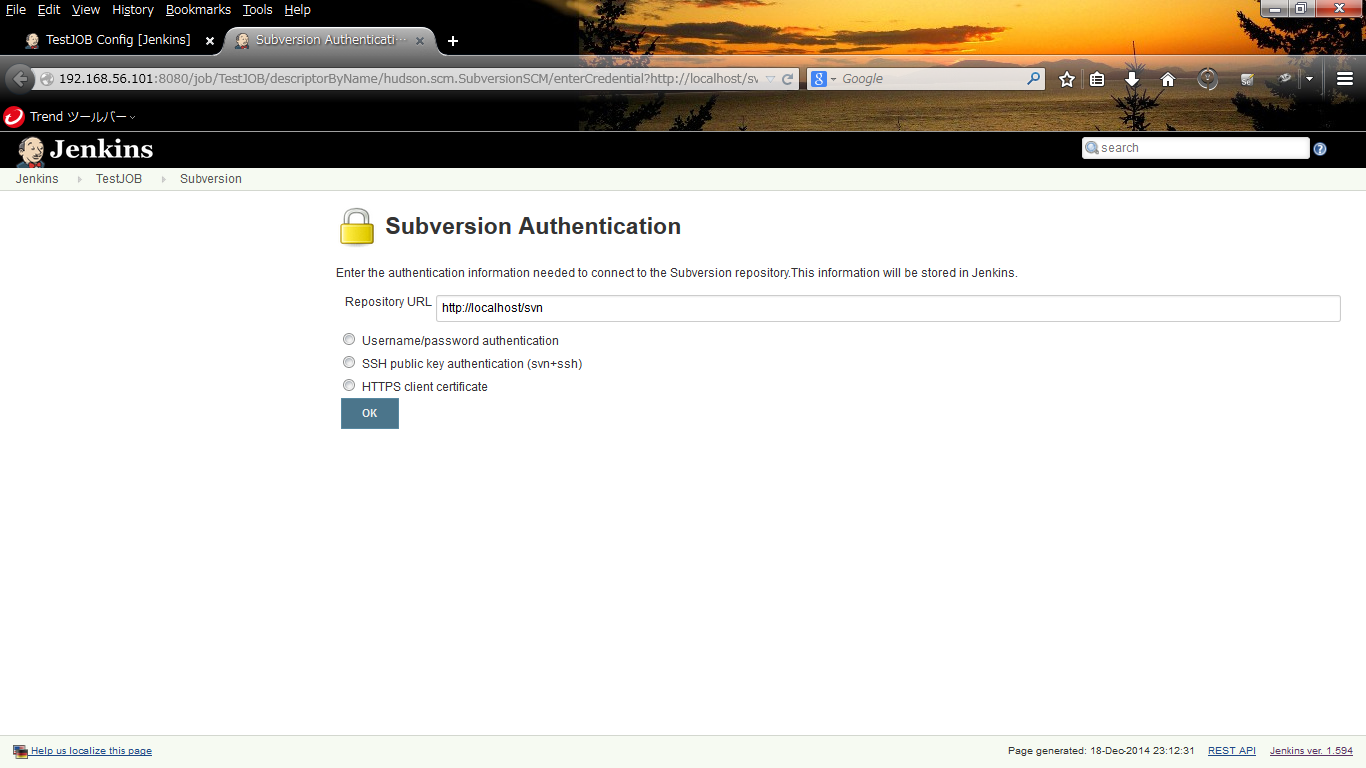
- Click "enter credential" link.
- Step.5
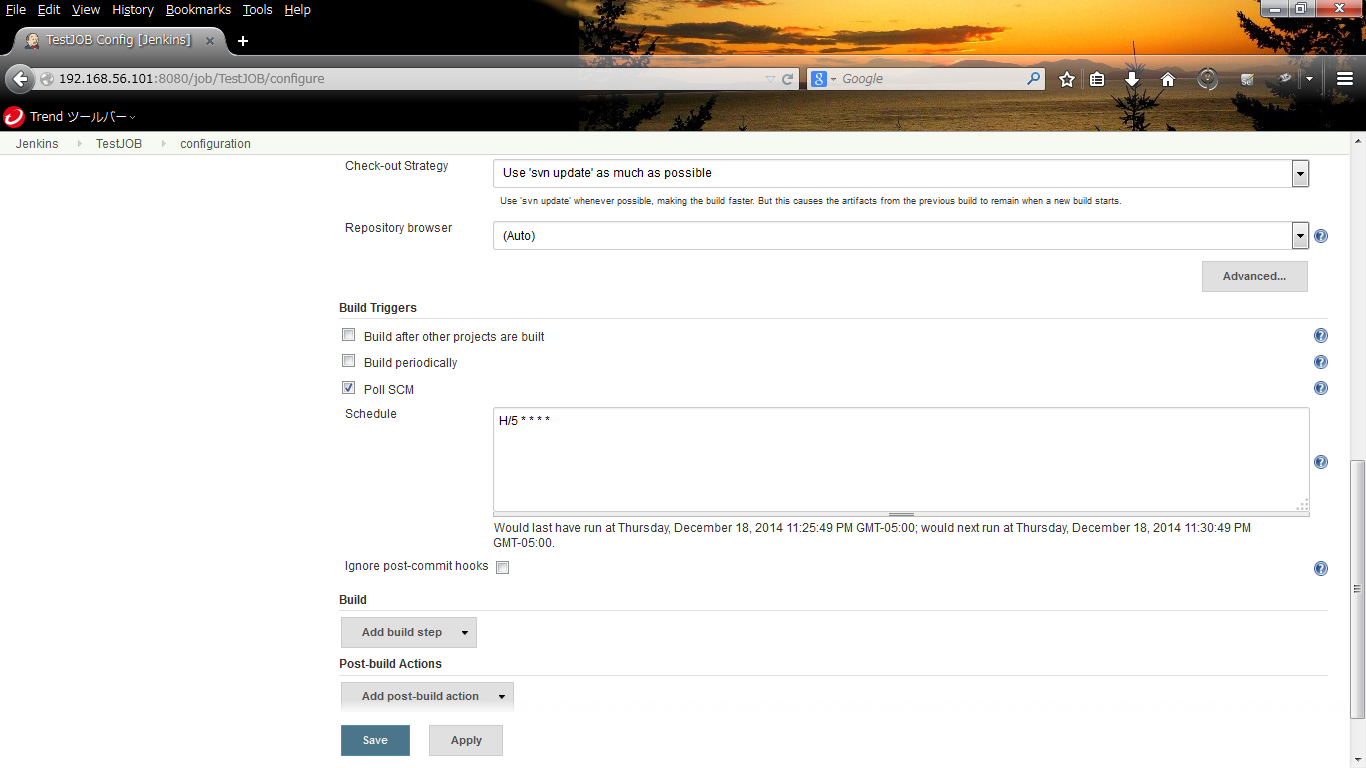
- You can choose build trigger according to your situation.
- "Build after other projects are built"
- "Build periodically"
- "Poll SCM"
Here, I choose "Poll SCM". Check "Poll SCM". If you want to check every 5min, set as follows. The order of parameters are same as cron.
min hour day month wday
*/5 * * * *
- Step.6
- Select "Invoke top-level Maven targets" from "Add build step".
- Step.7
- Choose "Add post-build action" from the following.
- Aggregate downstream test results
- Archive the artifacts
- Build other projects
- Publish JUnit test result report
- Publish Javadoc
- Record fingerprints of files to track usage
- E-mail Notification
Here, we choose "E-mail Notification" and set "Recipients".
- Step.8
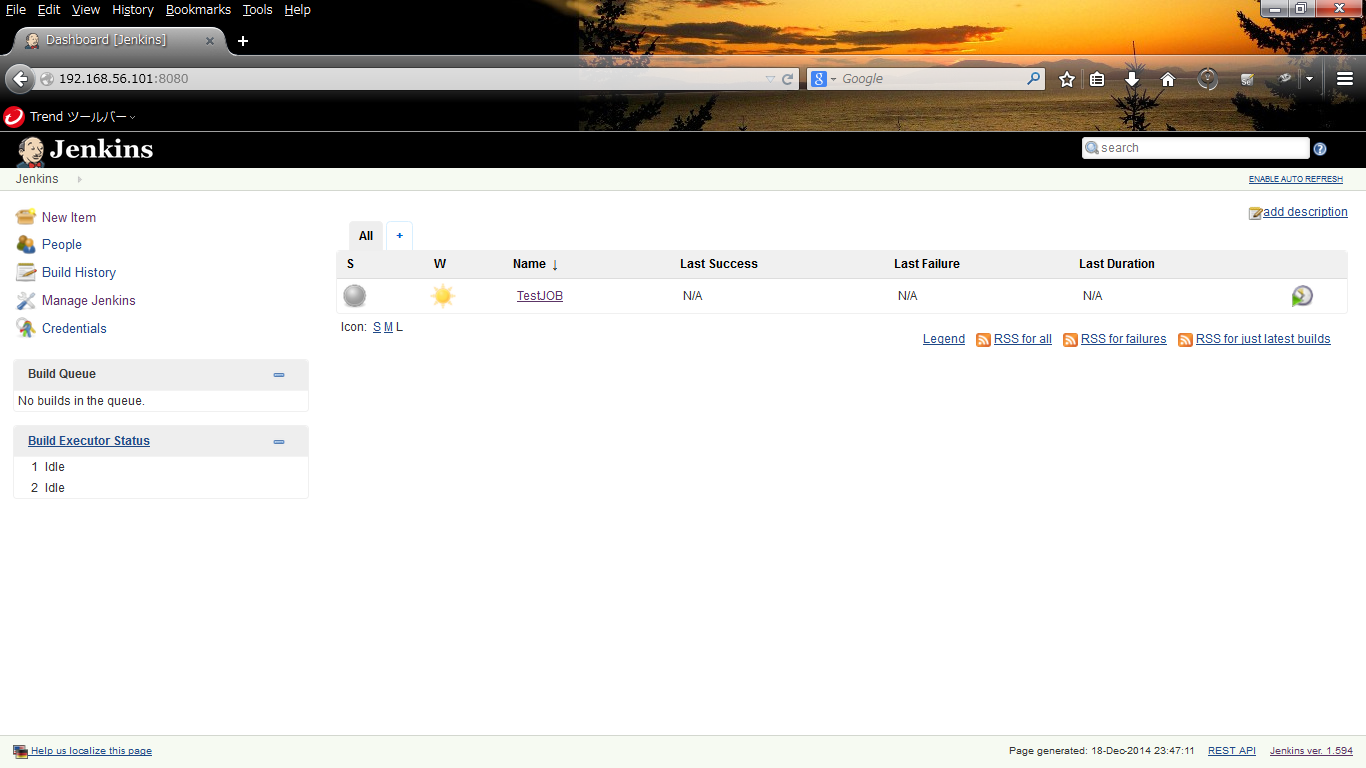
- Click "Save" button. Now, you can see New Item in the main window.
_ Run Build
- Step.1
- Click newly created "Schedule Build" link.
- Step.2
- Click "TestJOB" link and you can see build list.
_ Author
S.Yatsuzuka
