Hello World from OSS Silicon Valley
HowToUse/CentOS/6.5
_ Install&Setup
_ Install CentOS
- Step.1
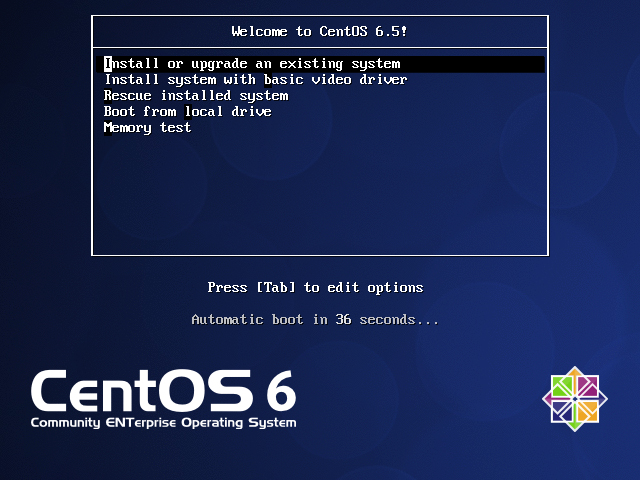
- Download ISO file from http://www.centos.org/download/ . For newbie, I recommend to download "DVD image". Though you can choose "LiveCD" or "netinstall" which has light data volume, they have minimum functionality to run server, you need to deal with all of operation in CUI. Select "Install or Upgrade an existing system".
- Step.2
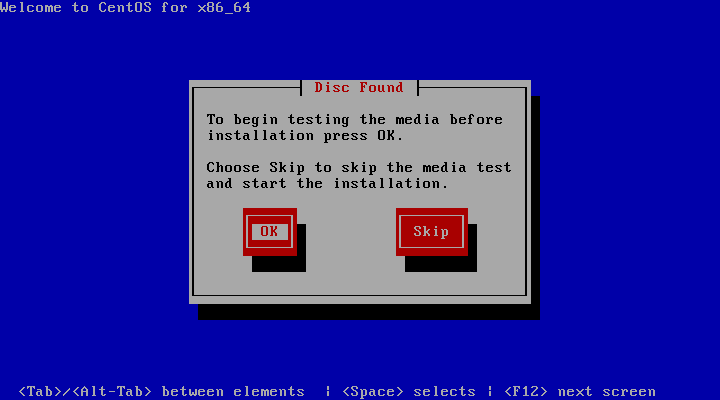
- Choose Skip
- Step.3
- Click Next
- Step.4
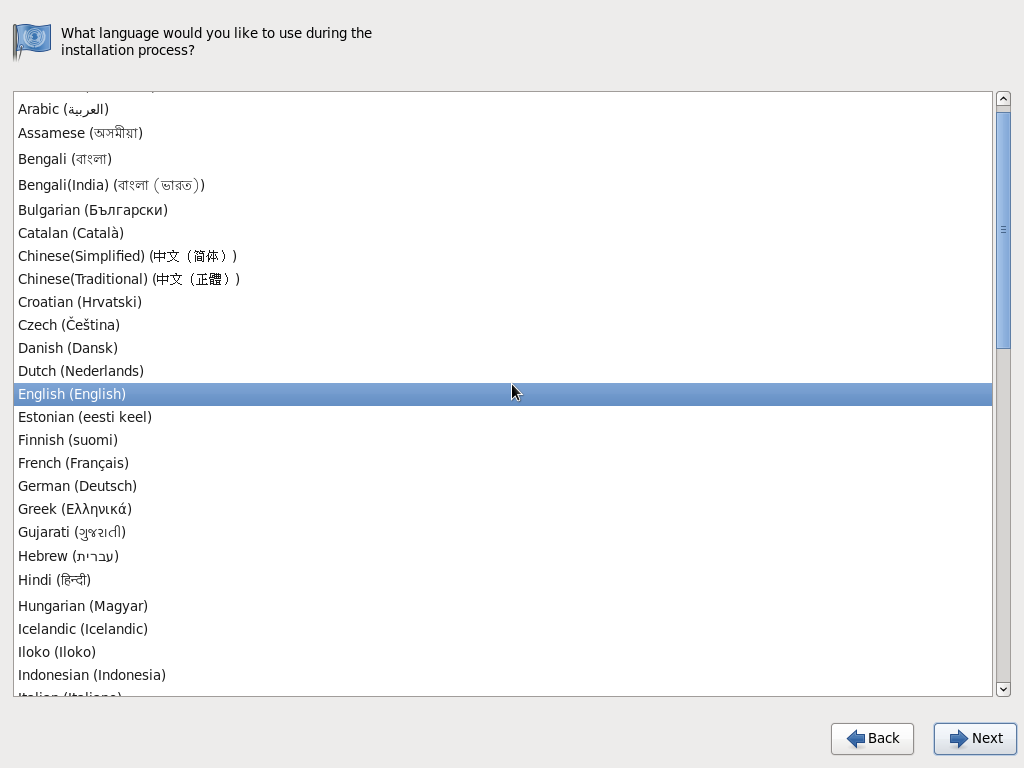
- Select Language.
Item Description Example Language Language for User Interface "English"(default)
- Step.5
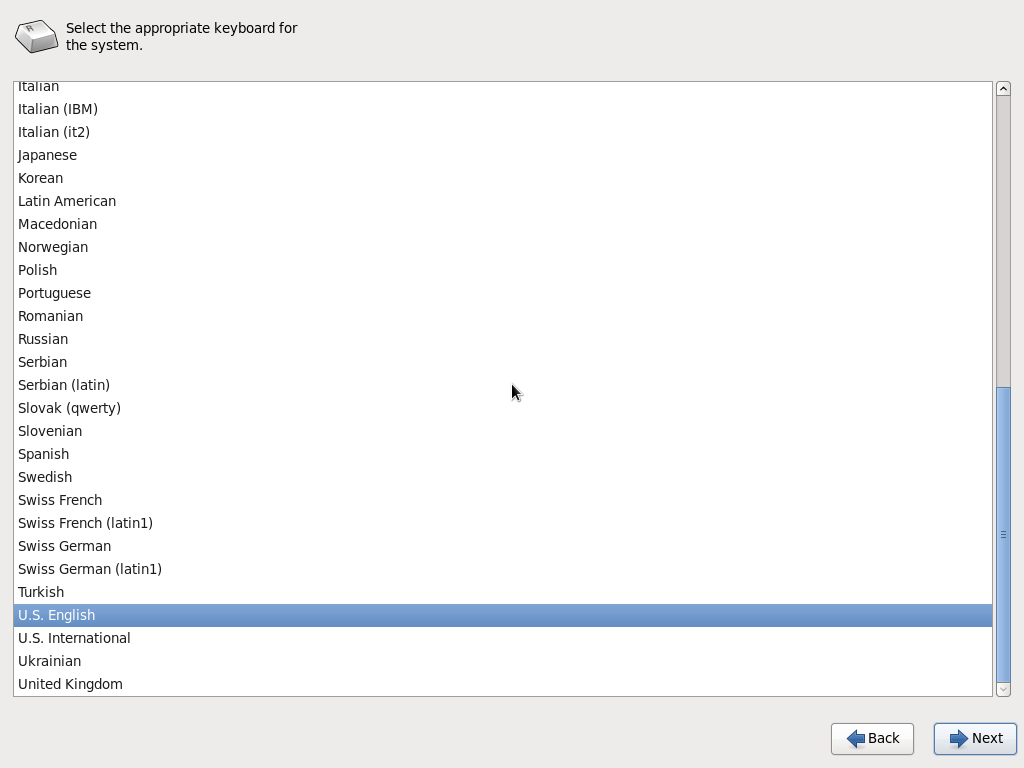
- Select Keybord type
Item Description Example Keyboard Keyboard Type "English"(default)
- Step.6
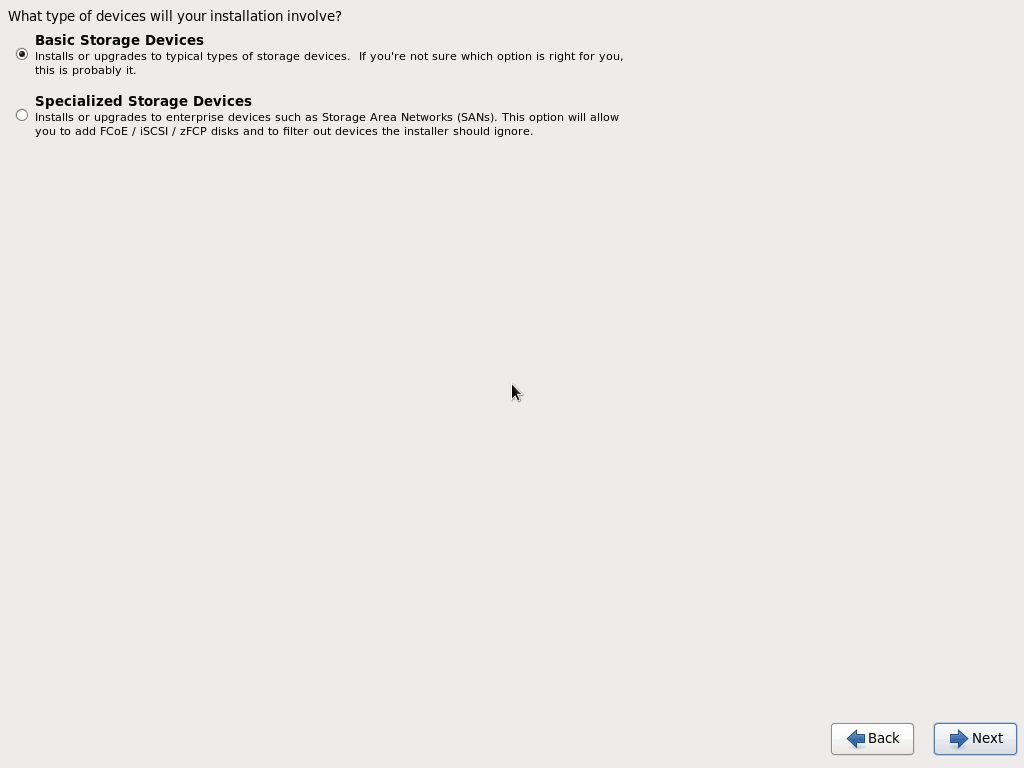
- Choose type of devices.
Item Description Example Type of devices Type of devices "Basic Storage Device"(default)
- Step.7
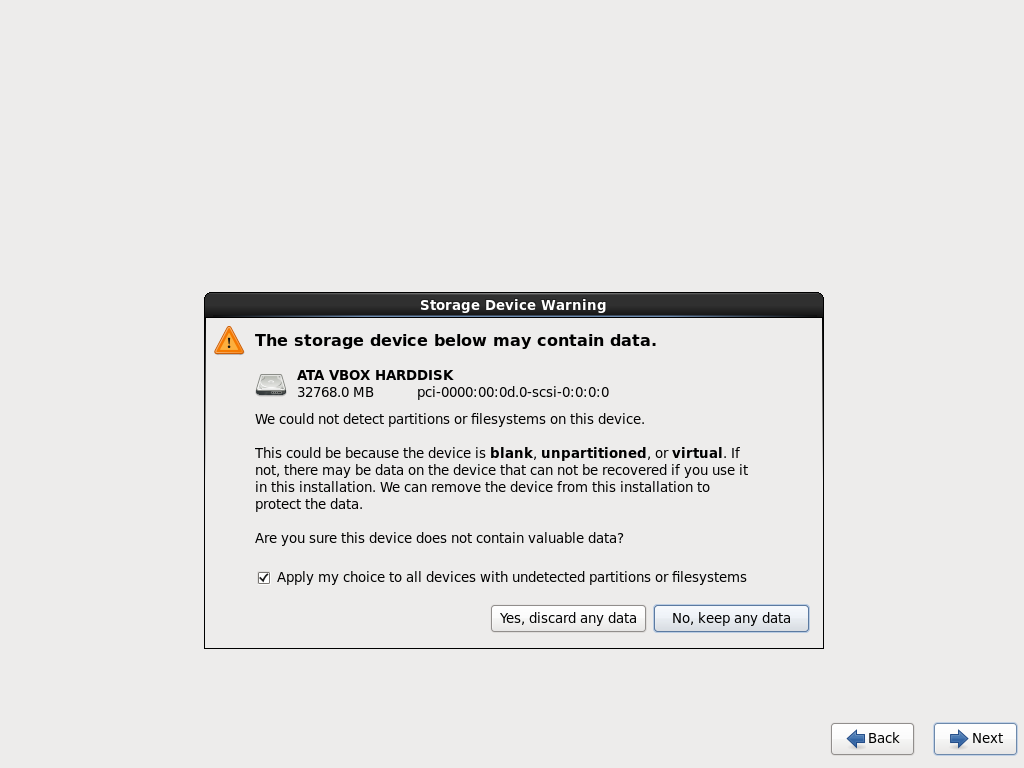
- Click "Yes, discard any data".
- Step.8
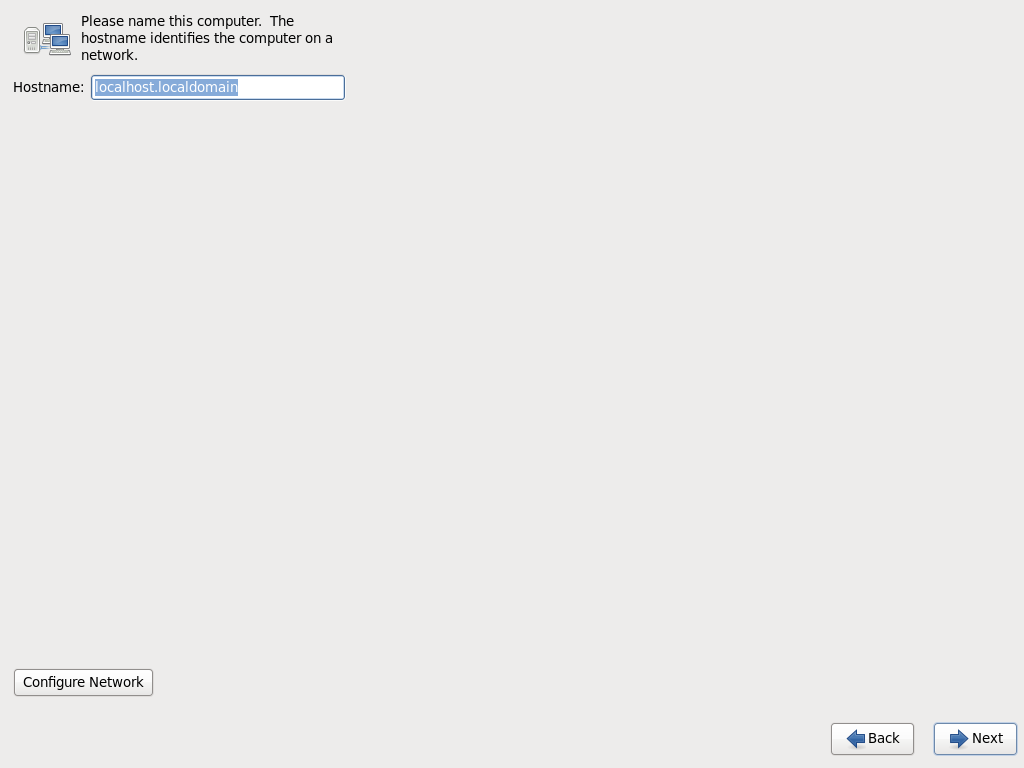
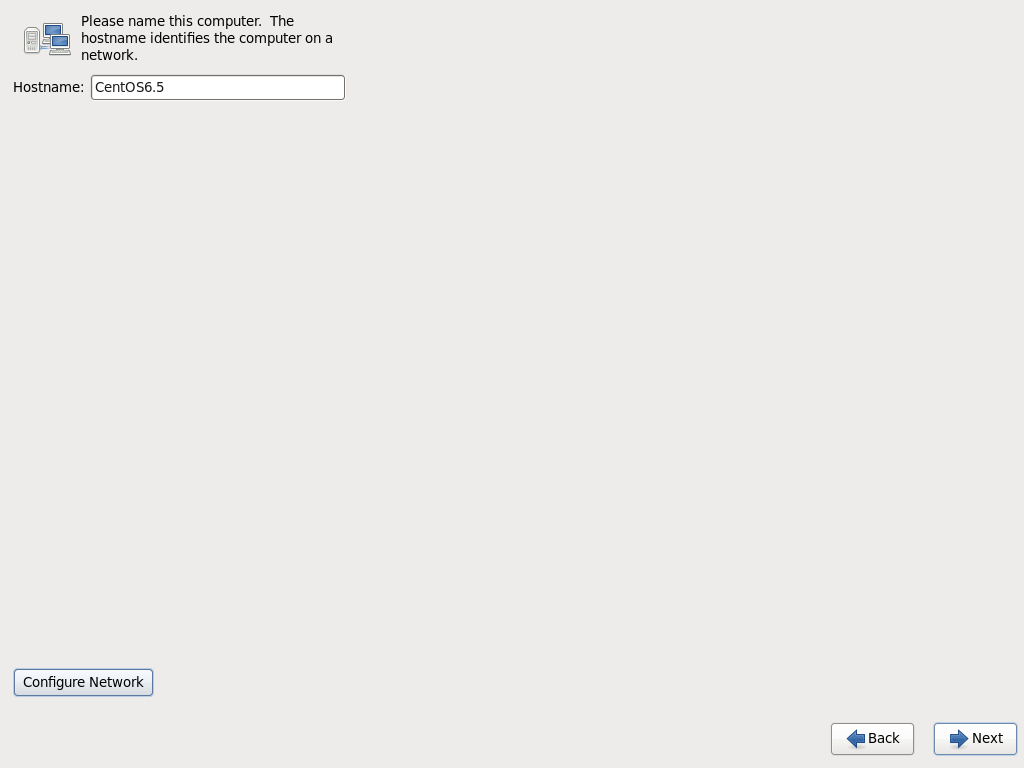
- Setup host name and click "Configure Network" button.
Item Description Example Host name Host name. You can set as you like "CentOS6.5"
- Step.9
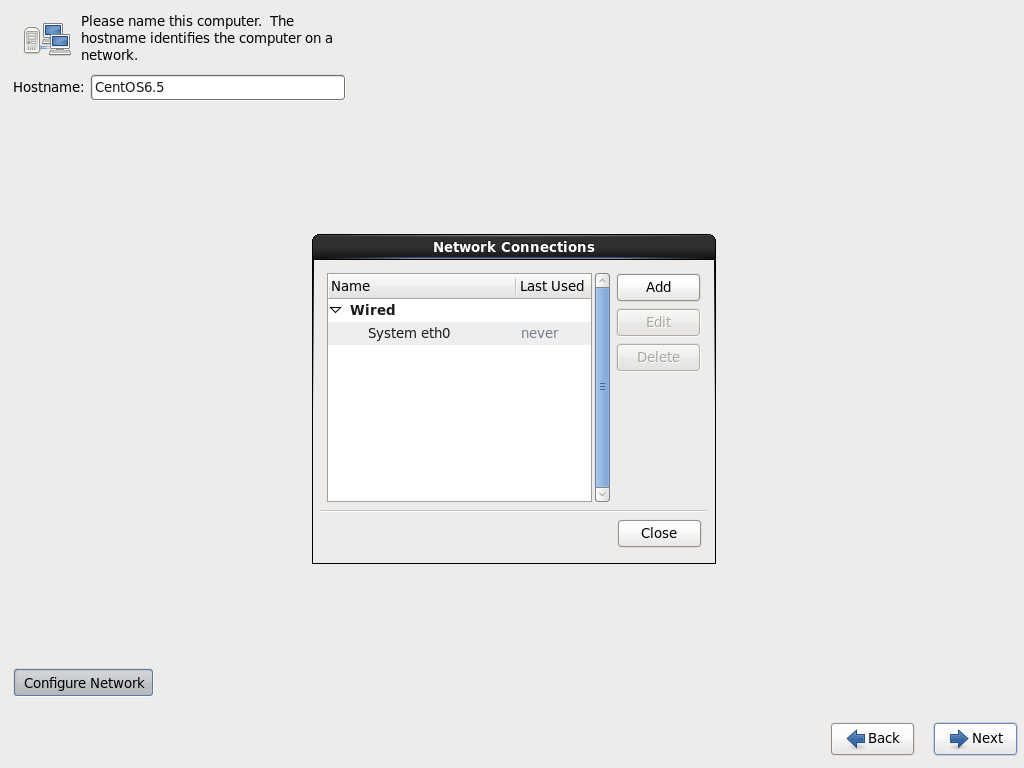
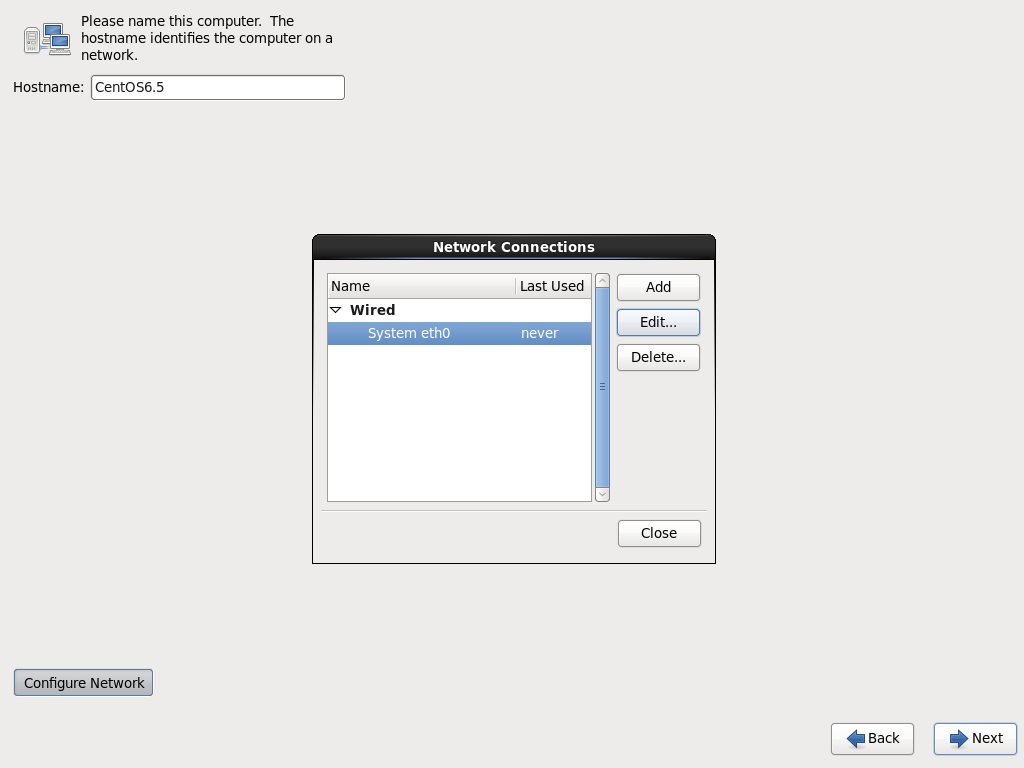
- Select "System eth0" and click "Edit" button.
- Step.10
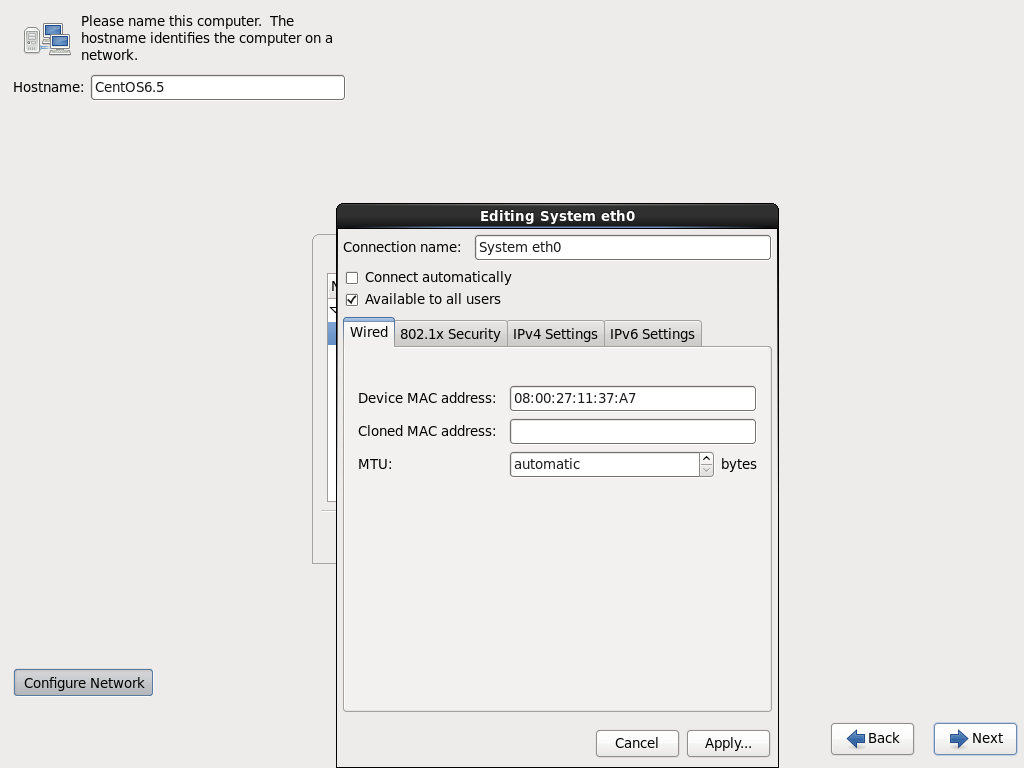
- Check "Connect Automatically" and click "Apply" button.
- Step.11
- Check "Close" button.
- Step.12
- Check "Next" button.
- Step.13
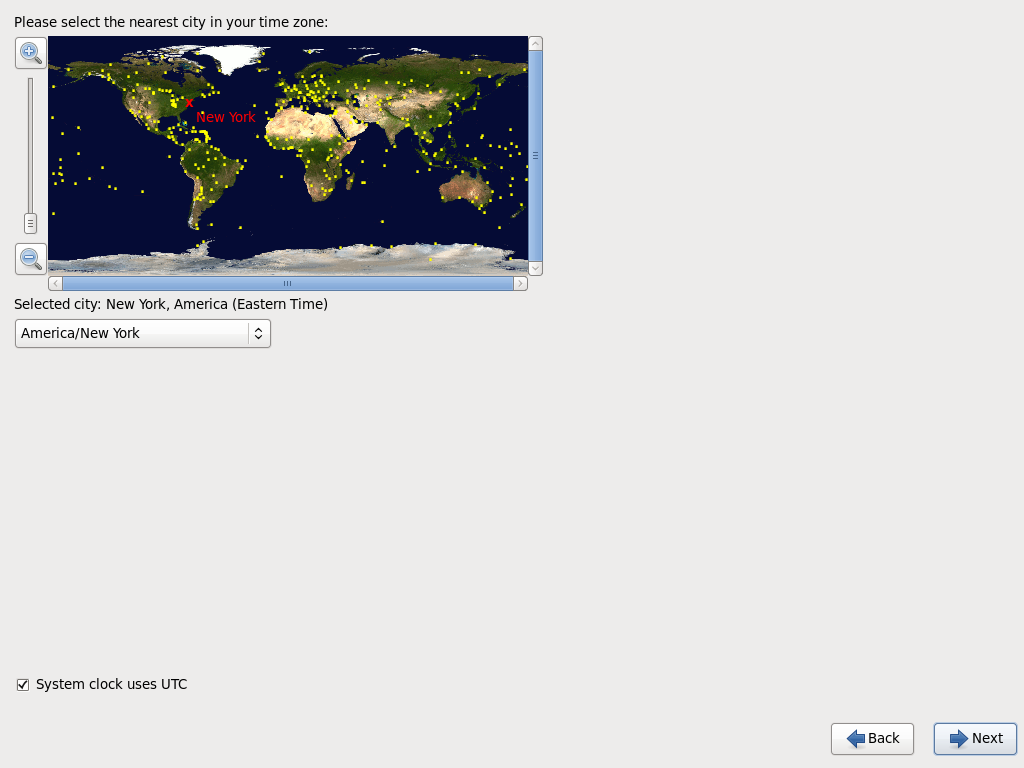
- Setup timezone.
- Step.14
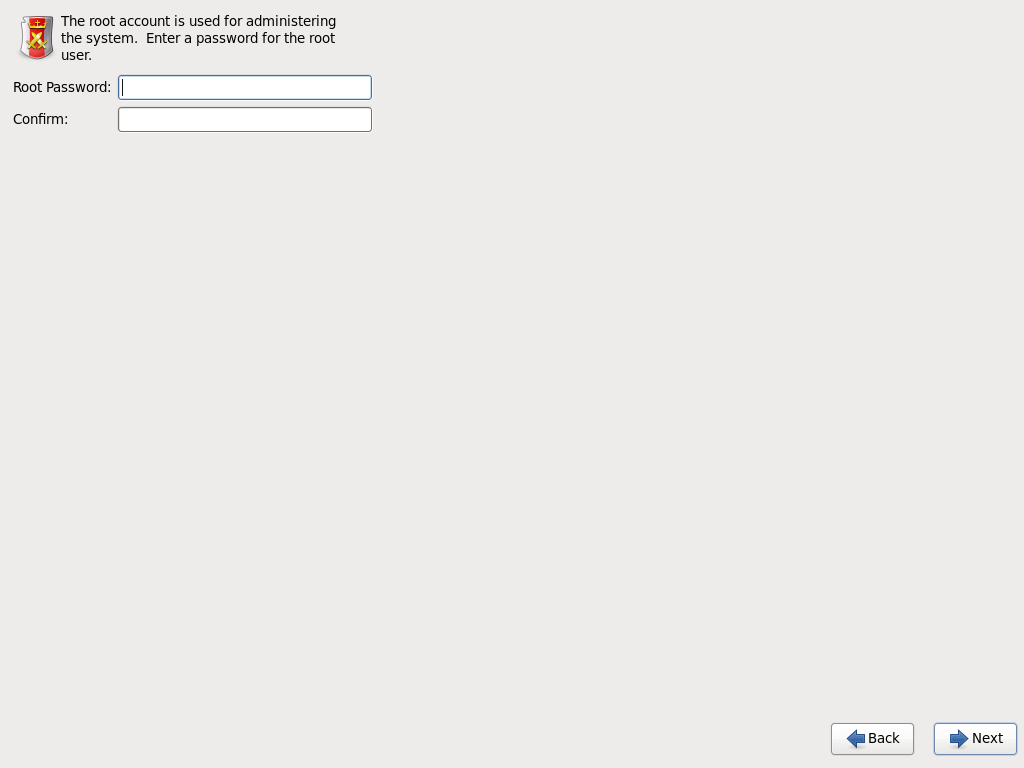
- Setup root password.
- Step.15
- Select Type of installation.
Item Description Example Type of installation "Use All Space"
- Step.16
- Click "Write change to the disk".
- Step.17
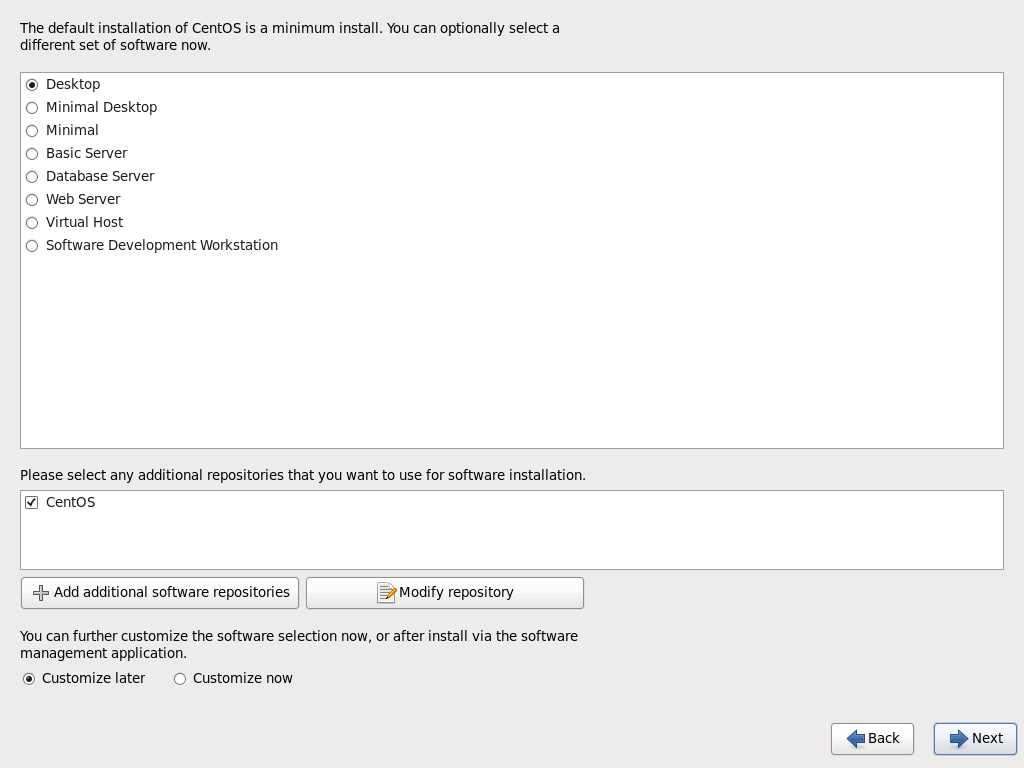
- Choose Install Mode.
Item Description Example Install Mode "Software Development Workstation"
- Step.18
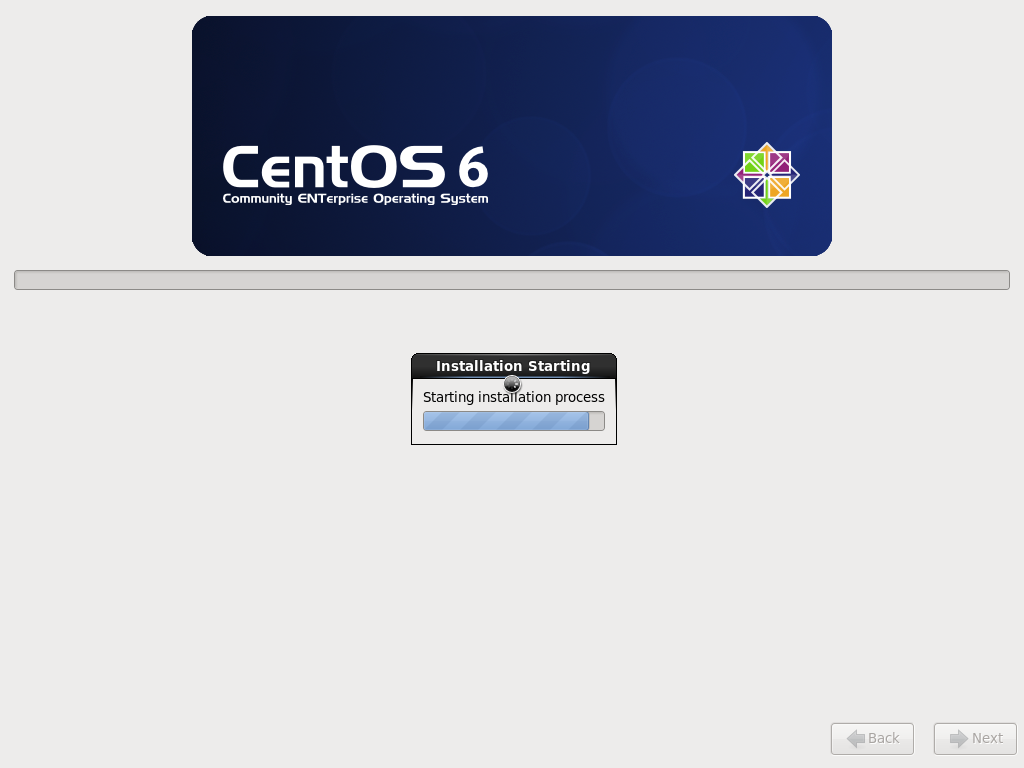
- Wait for a while to finish installtion.
- Step.19
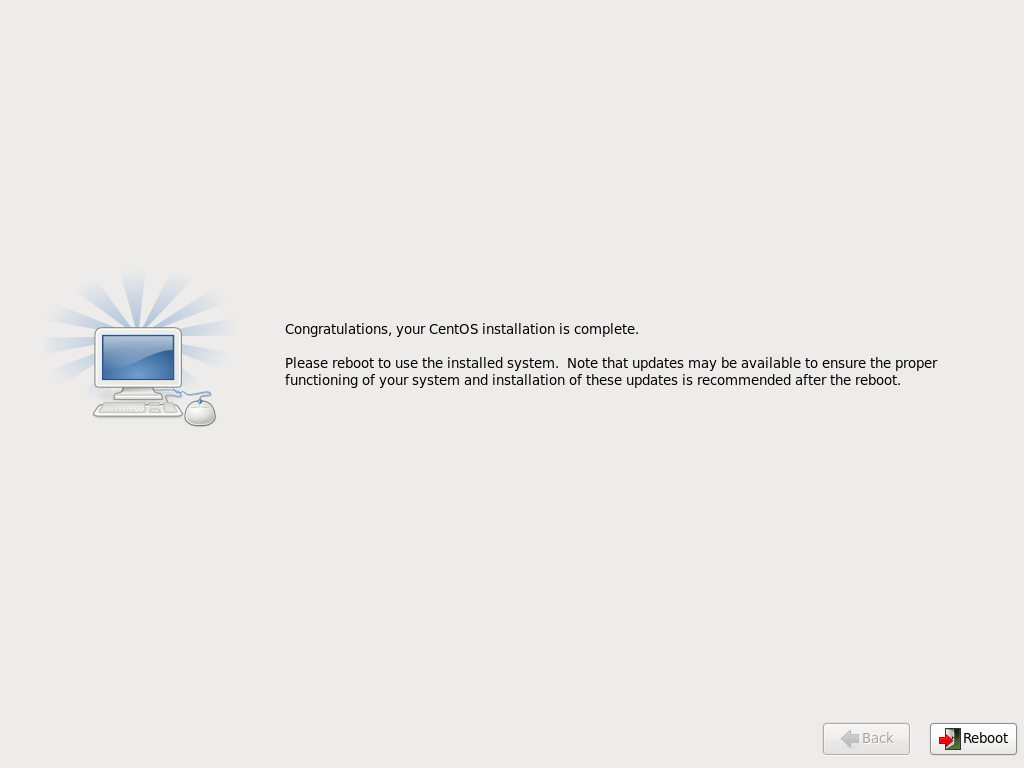
- Click "Reboot" button.
- Step.20
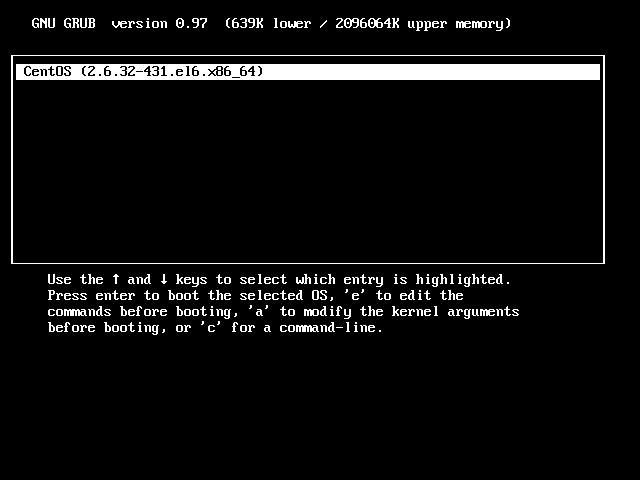
- Click Enter key.
- Step.21
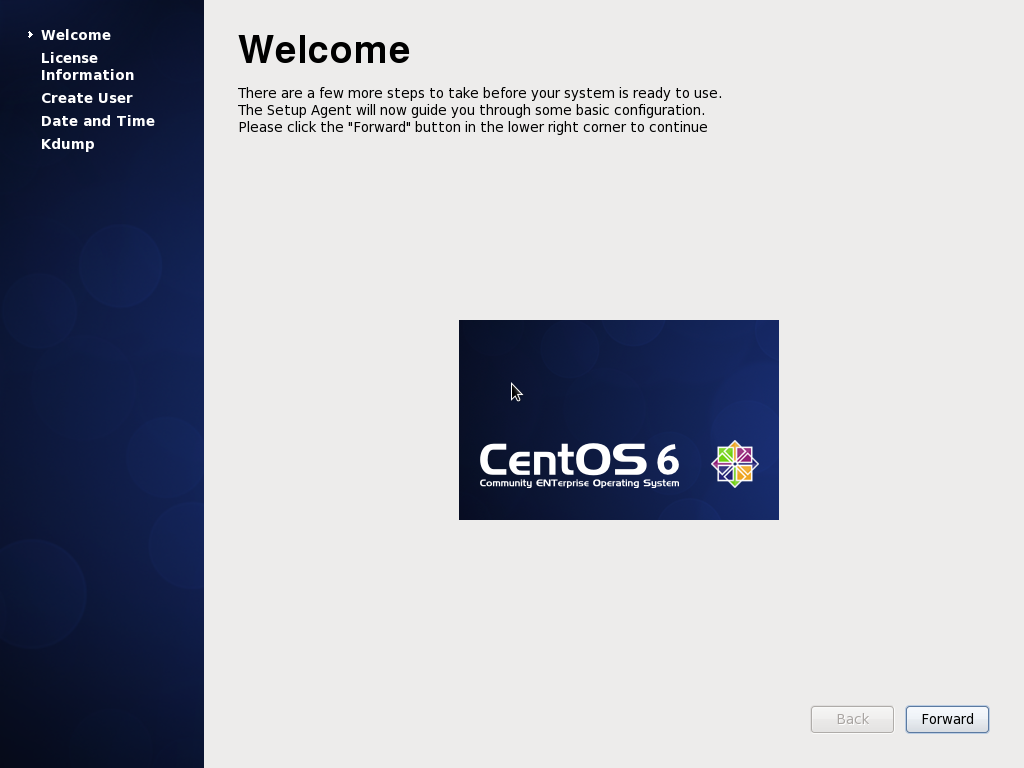
- Click "Forward" button.
- Step.22
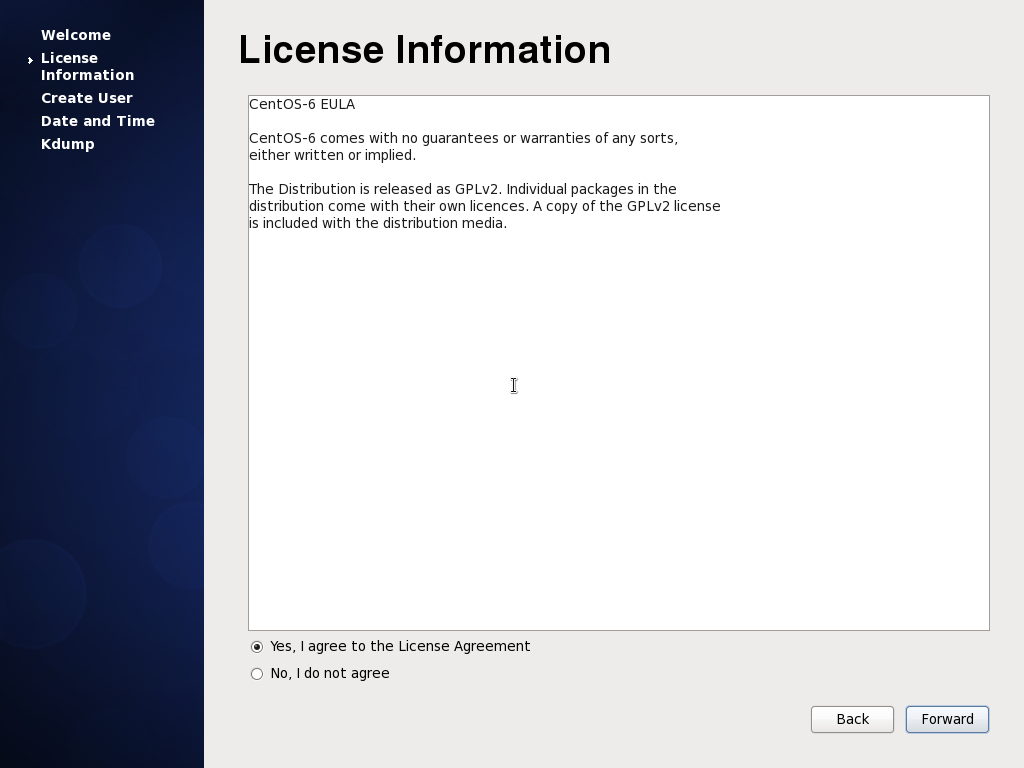
- Click "Forward" button.
- Step.23
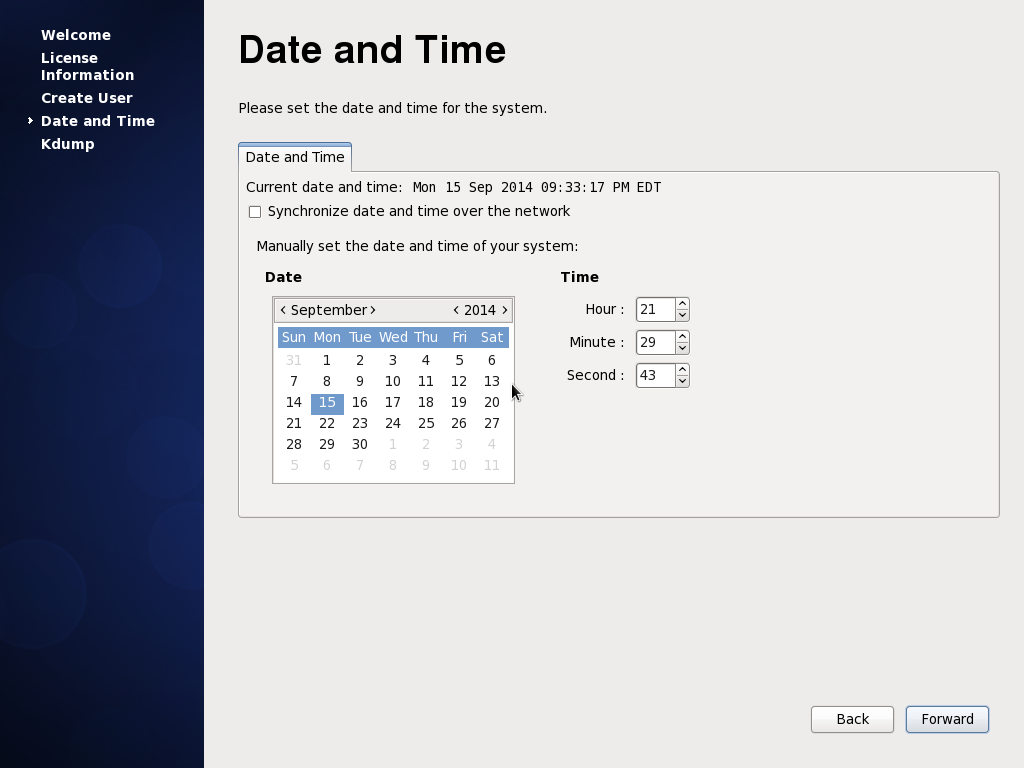
- Enter user name, password and click "Forward" button.
- Step.24
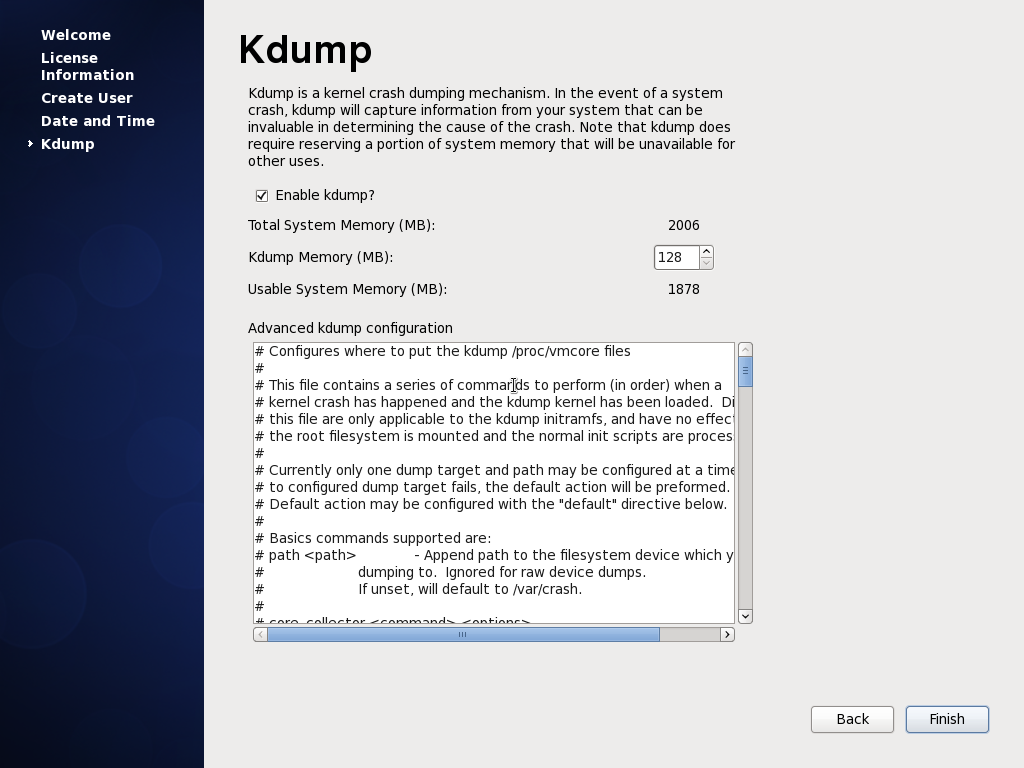
- Click "Forward" button.
- Step.25
- Click "Finish" button.
_ Setup Network Adapter
- Step.1
- Login root user.
- Step.2
- Launch terminal from "Application"->"System Tools"->"Terminal".
- Step.2
- Open the following new file.
# cd /etc/sysconfig/network-scripts
# vi ifcfg-eth1
- Step.3
- Edit as follows and save the file.
Tools"->"Terminal".
DEVICE=eth1
TYPE=Ethernet
ONBOOT=yes
BOOTPROTO=static
HWADDR=99:99:99:99:99:99  # MAC Address which you can check Virtual Box Network setting
NAME="System eth1"
IPADDR=192.168.56.101     # as you like
NETMASK=255.255.255.0
NETWORK=192.168.56.0
- Step.4
- Execute the following command.
# ifup eth1
# reboot
Now, you can connect with SSH server specifying IP address as 192.168.56.101.
_ HowToUse
_ Setting sudo
- Step.1
- Execute the following command to edit sudoer file.
$ su -
# visudo
<User Name> ALL=(ALL) ALL
Example
hadoop ALL=(ALL) ALL
_ Author
S.Yatsuzuka
Attach file:  install_fig24.png 214 download
[Information]
 install_fig4.png 211 download
[Information]
 install_fig22.png 212 download
[Information]
 install_fig21.png 208 download
[Information]
 install_fig20.png 202 download
[Information]
 install_fig25.png 200 download
[Information]
 install_fig5.png 189 download
[Information]
 install_fig9.png 167 download
[Information]
 install_fig8.png 179 download
[Information]
 install_fig7.png 187 download
[Information]
 install_fig6.png 186 download
[Information]
 install_fig19.png 209 download
[Information]
 install_fig3.png 183 download
[Information]
 install_fig13.png 227 download
[Information]
 install_fig12.png 210 download
[Information]
 install_fig11.png 201 download
[Information]
 install_fig10.png 198 download
[Information]
 install_fig14.png 199 download
[Information]
 install_fig15.png 106 download
[Information]
 install_fig18.png 214 download
[Information]
 install_fig17.png 215 download
[Information]
 install_fig2.png 190 download
[Information]
 install_fig16.png 194 download
[Information]
 install_fig1.png 201 download
[Information]
Last-modified: 2016-11-06 (Sun) 07:51:25 (2721d)
