HowToUse/RubyOnRails/4.1
- List of Backups
- View the diff.
- View the diff current.
- View the source.
- Go to HowToUse/RubyOnRails/4.1.
- 1 (2014-10-24 (Fri) 03:28:05)
- 2 (2014-10-24 (Fri) 04:13:07)
- 3 (2014-11-03 (Mon) 18:20:20)
- 4 (2015-08-17 (Mon) 02:41:34)
- 5 (2015-08-22 (Sat) 23:14:26)
- 6 (2015-08-23 (Sun) 12:46:45)
- 7 (2015-08-29 (Sat) 23:03:48)
- 8 (2015-08-30 (Sun) 02:27:38)
- 9 (2015-09-27 (Sun) 01:05:04)
- 10 (2015-09-27 (Sun) 04:18:13)
- 11 (2016-06-27 (Mon) 04:56:04)
- 12 (2016-07-13 (Wed) 20:49:14)
- 13 (2016-07-27 (Wed) 01:18:20)
_ Prerequisite
- Ubuntu Server (You can refer Overall/UbuntuServer)
- RVM (You can refer Overall/RVM)
_ Install&Setup
- Step.1
- Check if the rails has already been installed.
$ rails --version
- Step.2
- If the rails has not been installed yet, execute the following command
$ gem install rails
_ HowToUse
_ Create new application
- Step.1
- Create new application.
$ rails new <Application Name>
Step.2| Open the Gemfile and append the following lines.
$ vi Gemfile
gem ‘execjs’
gem ‘therubyracer’
$ bundle install
- Step.3
- Launch application.
$ cd <Application Name>
$ rails server
- Step.4
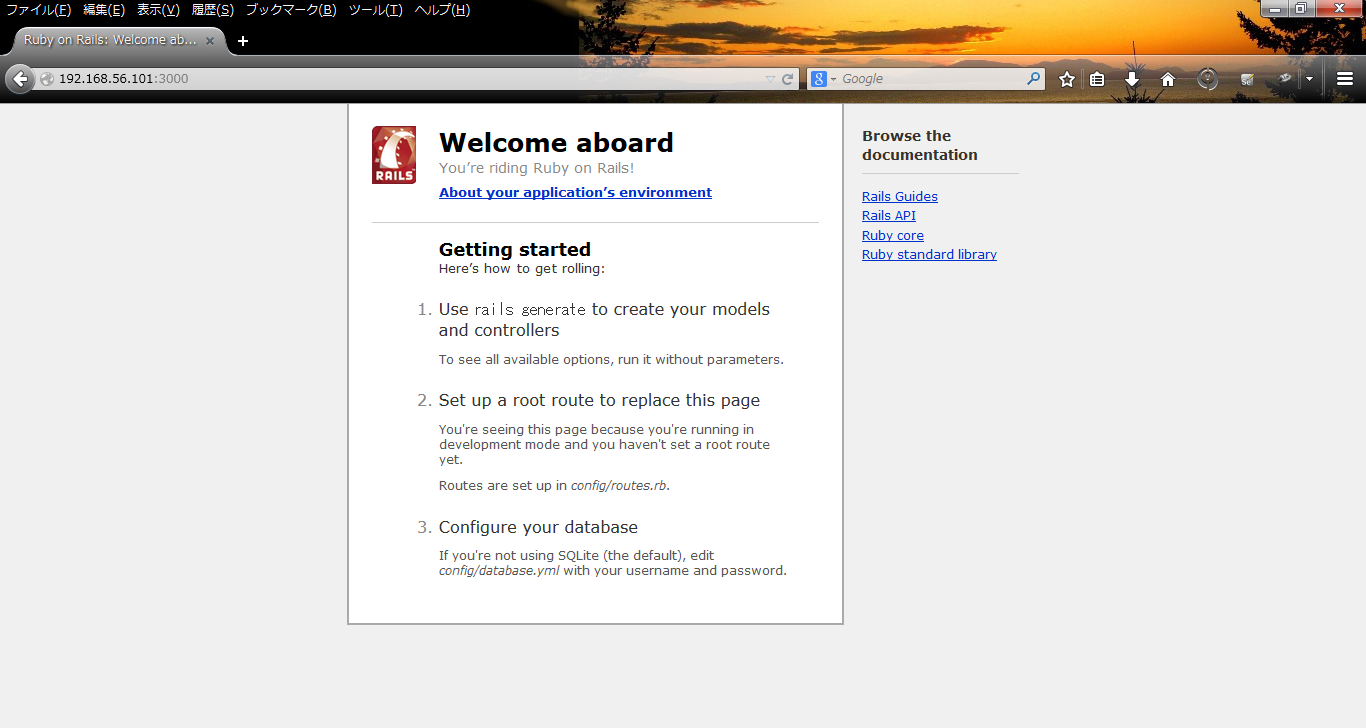
- Access the following page.
http://localhost:3000/
_ Create sample program with Scaffold
- Step.1
- Create objects withs scaffold.
$ rails generate scaffold <Object Name>
(Example)$ rails generate scaffold scaffold_test
- Step.2
- Prepare database.
$ rake db:migrate
- Step.3
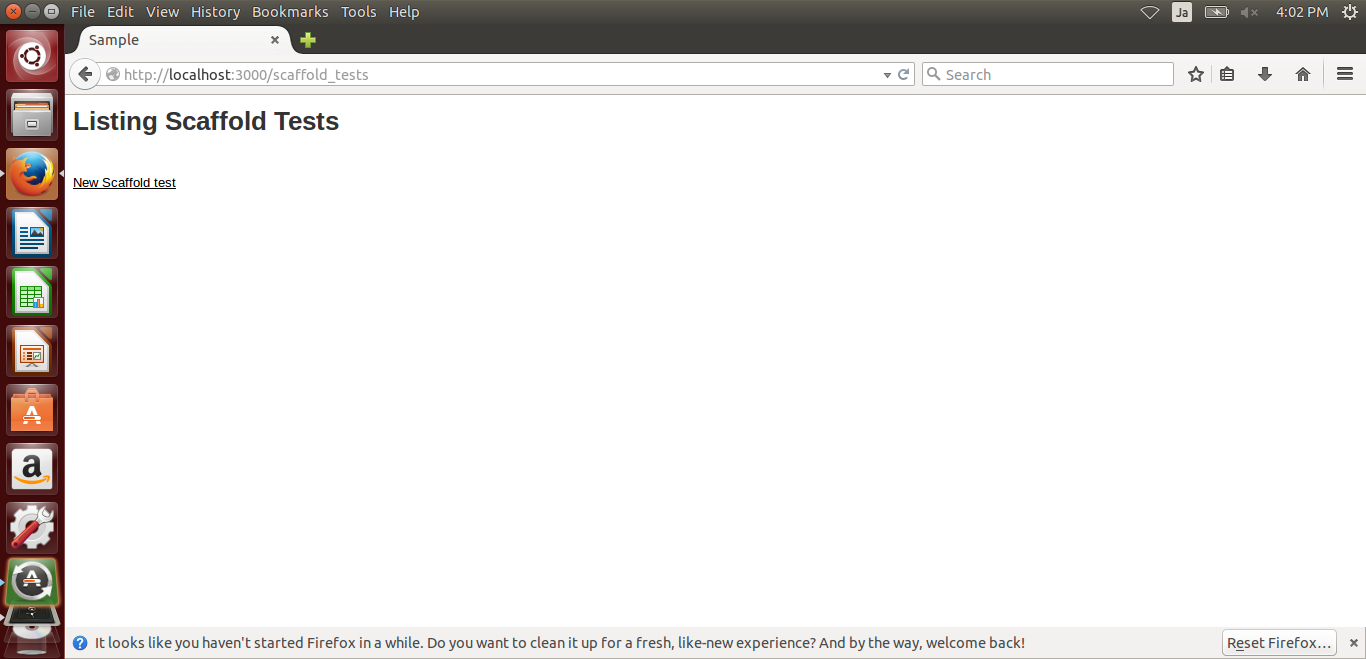
- Launch the server and access http://<IP address>:3000/<Object Name>
Now you have a page which maintains data stored in Sqlite DB.
_ Create Say Hello program
- Step.1
- Create controller and view files.
$ rails generate controller <Controller Name> <Method(View)> <Method(View)>
(Example)$ rails generate controller Say hello goodbye
- Step.2
- Access the following page.
http://localhost:3000/say/hello/
#ref(): File not found: "CreateApplication_fig2.png" at page "HowToUse/RubyOnRails/4.1"
_ Get data from RESTful service
- Step.1
- Edit controller.
$ vi app/controller/<Controller file>
   require 'open-uri'
   require 'json'

   res = open('<URL>')
   code, message = res.status

   if code == '200'

     @result = JSON.parse(res.read)
   end
- Step.2
- Put it to view file.
$ vi app/view/<View file>
<table>
<% @result.each do |data| %>
 <tr>
 <td><%= data['<Key#1>'] %></td>
 <td><%= data['<Key#2>'] %></td>
 </tr>
<% end %>
</table>
_ Upload to Heroku
- Step.1
- Create new account in Heroku (https://id.heroku.com/login)
- Step.2
- Install Ruby 2.2.2
$ rvm install ruby-2.2.2
- Step.3
- Install Heroku Toolbelt.
$ wget -O- https://toolbelt.heroku.com/install-ubuntu.sh | sh
When you encounter error, you can use standalone edition with the following commands.
$ wget -qO- https://toolbelt.heroku.com/install.sh | bash
$ echo 'PATH="/usr/local/heroku/bin:$PATH"' >> ~/.profile
- Step.4
- Login to Heroku
$ heroku login
- Step.5
- Prepare Git repository.
$ git clone <Git Repository>
or
$ cd <Ruby On Rails Project>
$ git init
$ git add .
$ git commit -m "initial commit"
- Step.6
- Edit Gemfile because Heroku doesn't allow sqlite3, but PostgreSQL
$ vi config/Gemfile
+gem 'pg'
-gem 'sqlite3'
+gem 'sqlite3', group: %w(test development), require: false
+gem 'pg', group: %w(production), require: false
- Step.7
- Install gem file.
$ bundle install
- Step.8
- Edit database.yml
$ vi db/database.yml
production:
  <<: *default
-  database: db/production.sqlite3
+  adapter: pg
+  database: db/production.pg
- Step.9
- Create application in Heroku
$ heroku create <application name>
- Step.10
- Push files.
$ git push heroku master
_ Author
S.Yatsuzuka


